Friday, 29 August 2014

Photography With the Apple iPhone


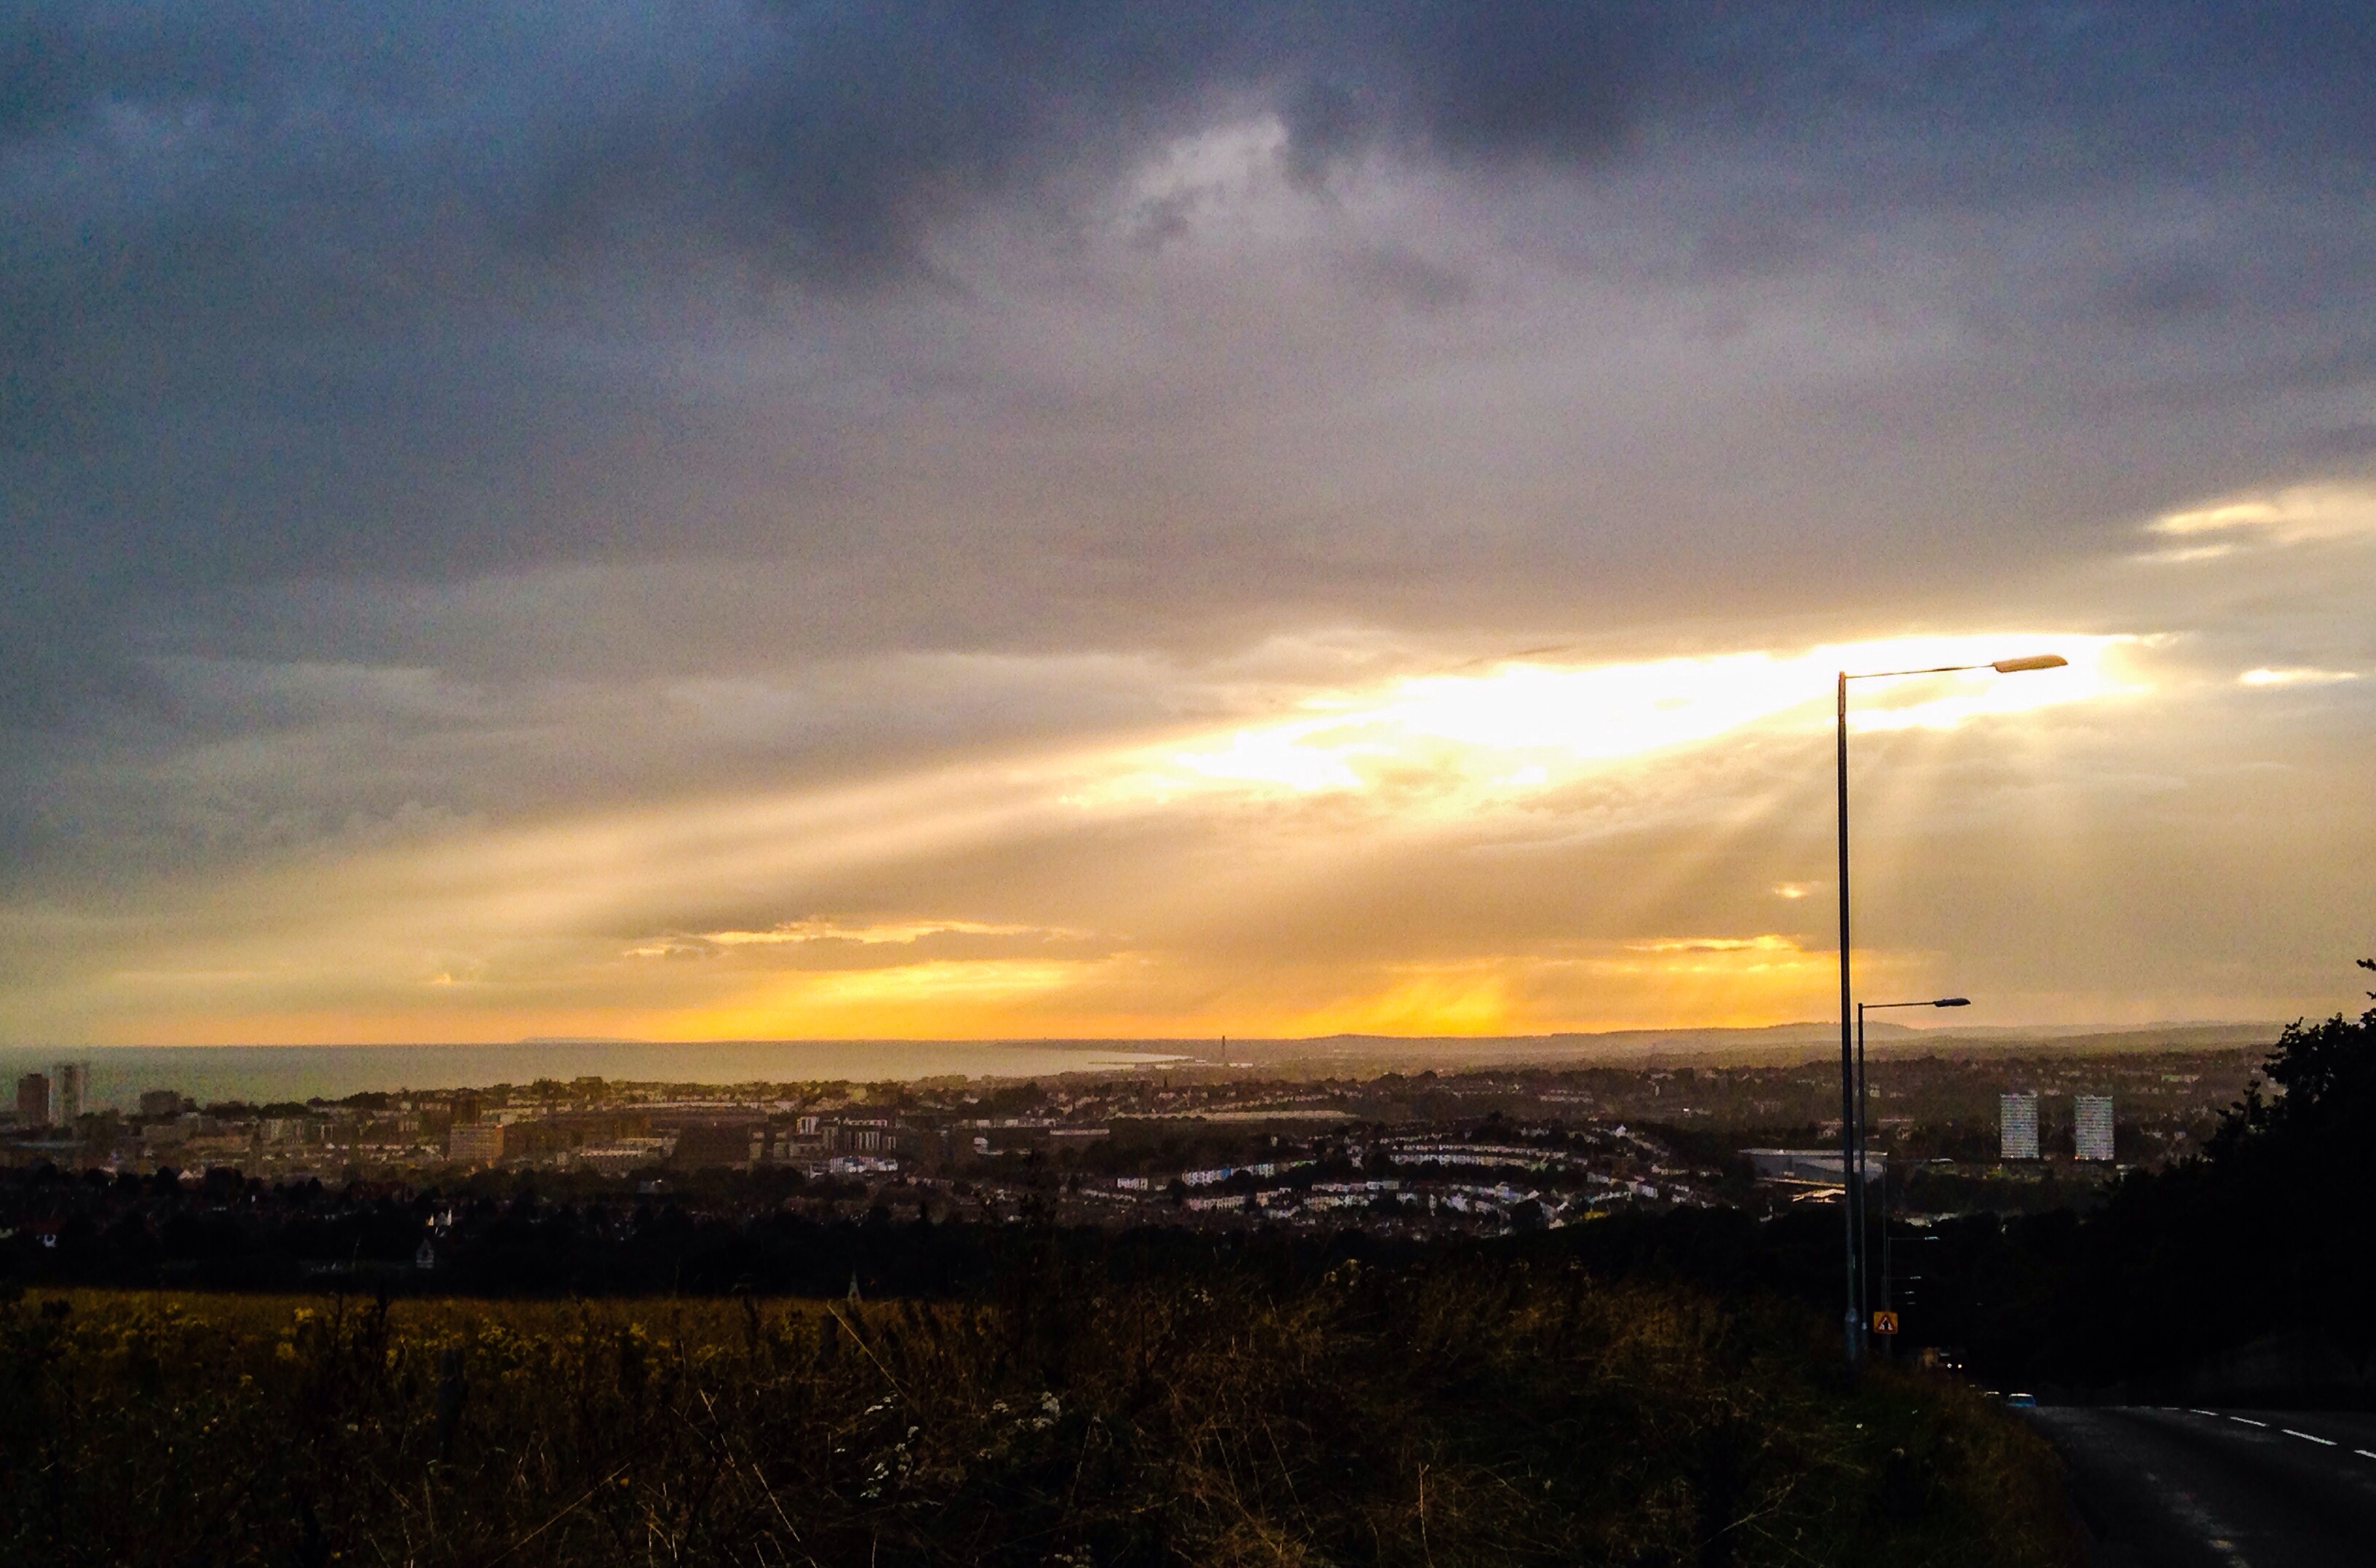
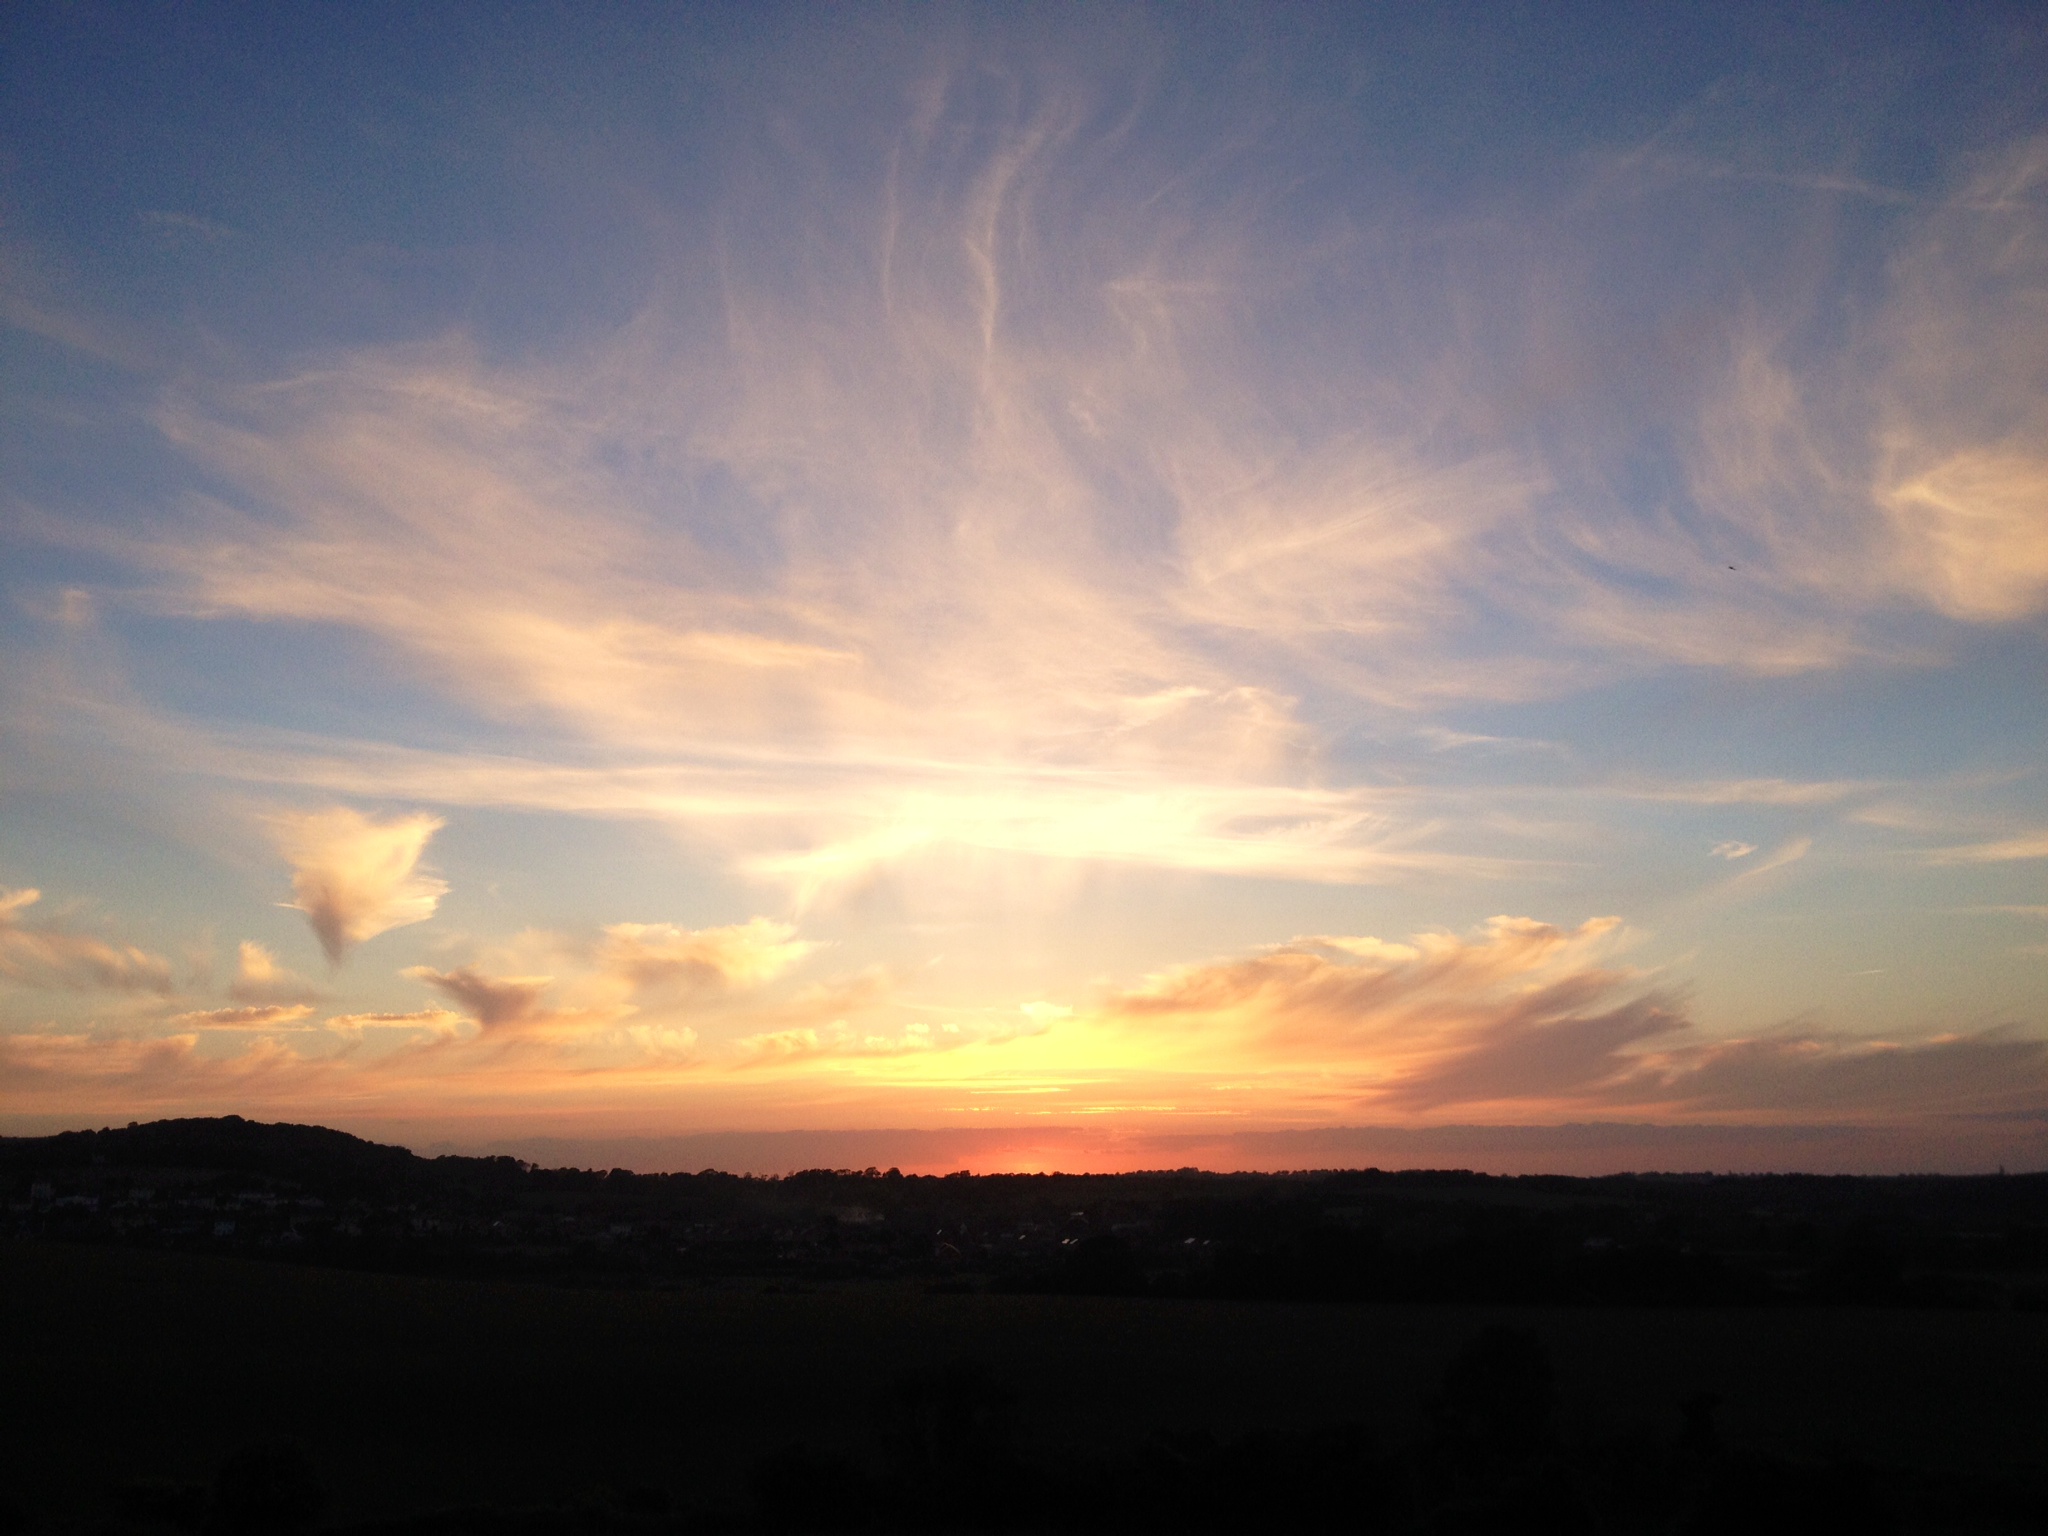
This image of the sun bursting through clouds was taken from Brighton Racecourse. The street light gives the impression that it is illuminating the whole of Brighton. Awesome!

The iPhone isn't really up to a lot of zoom and the image becomes quite grainy, quite quickly, in proportion to the amount of zoom you use, and most of the foreground was in dark shadow. As far as I know the iPhone is 'aperture priority' in that it adjusts the exposure by increasing the shutter speed and always uses the same f stop number 2.4 and the lowest ISO possible, which is somewhere between 50 and 800 (with the 4S model) and 3200 with the iPhone 5, so there isn't much scope for landscapes where you want depth of field and sharp focusing across the image by using a bigger f stop number (smaller aperture).

However, if you are out and about and you see an awesome sunset - and an iPhone is all you have handy - you can still take some pretty impressive shots with the 8mp front camera. This image was enhanced using the Adobe Photoshop Express App for iPhone, which is a bit basic, but OK for a phone app if you just want to make quick adjustments to things like contrast and brightness.

Another trick I discovered with iPhone (and most digital cameras) is that if you take the photograph in low light but turn the flash off, because the iPhone is auto-everything, it compensates for the low light by decreasing the shutter speed and increasing the ISO. The result is the picture is brighter and more vivid than it would have been in bright light or with the flash on.

You can also adjust exposure on the iPhone by tapping the screen before you take the photograph. Tapping the screen selects the point you want to focus on and also exposes the image for that area, so the exposure can be adjusted somewhat by tapping lighter or darker areas of the image. If one thing can be said about the iPhone camera, it is that it is versatile across a broad spectrum of lighting conditions.

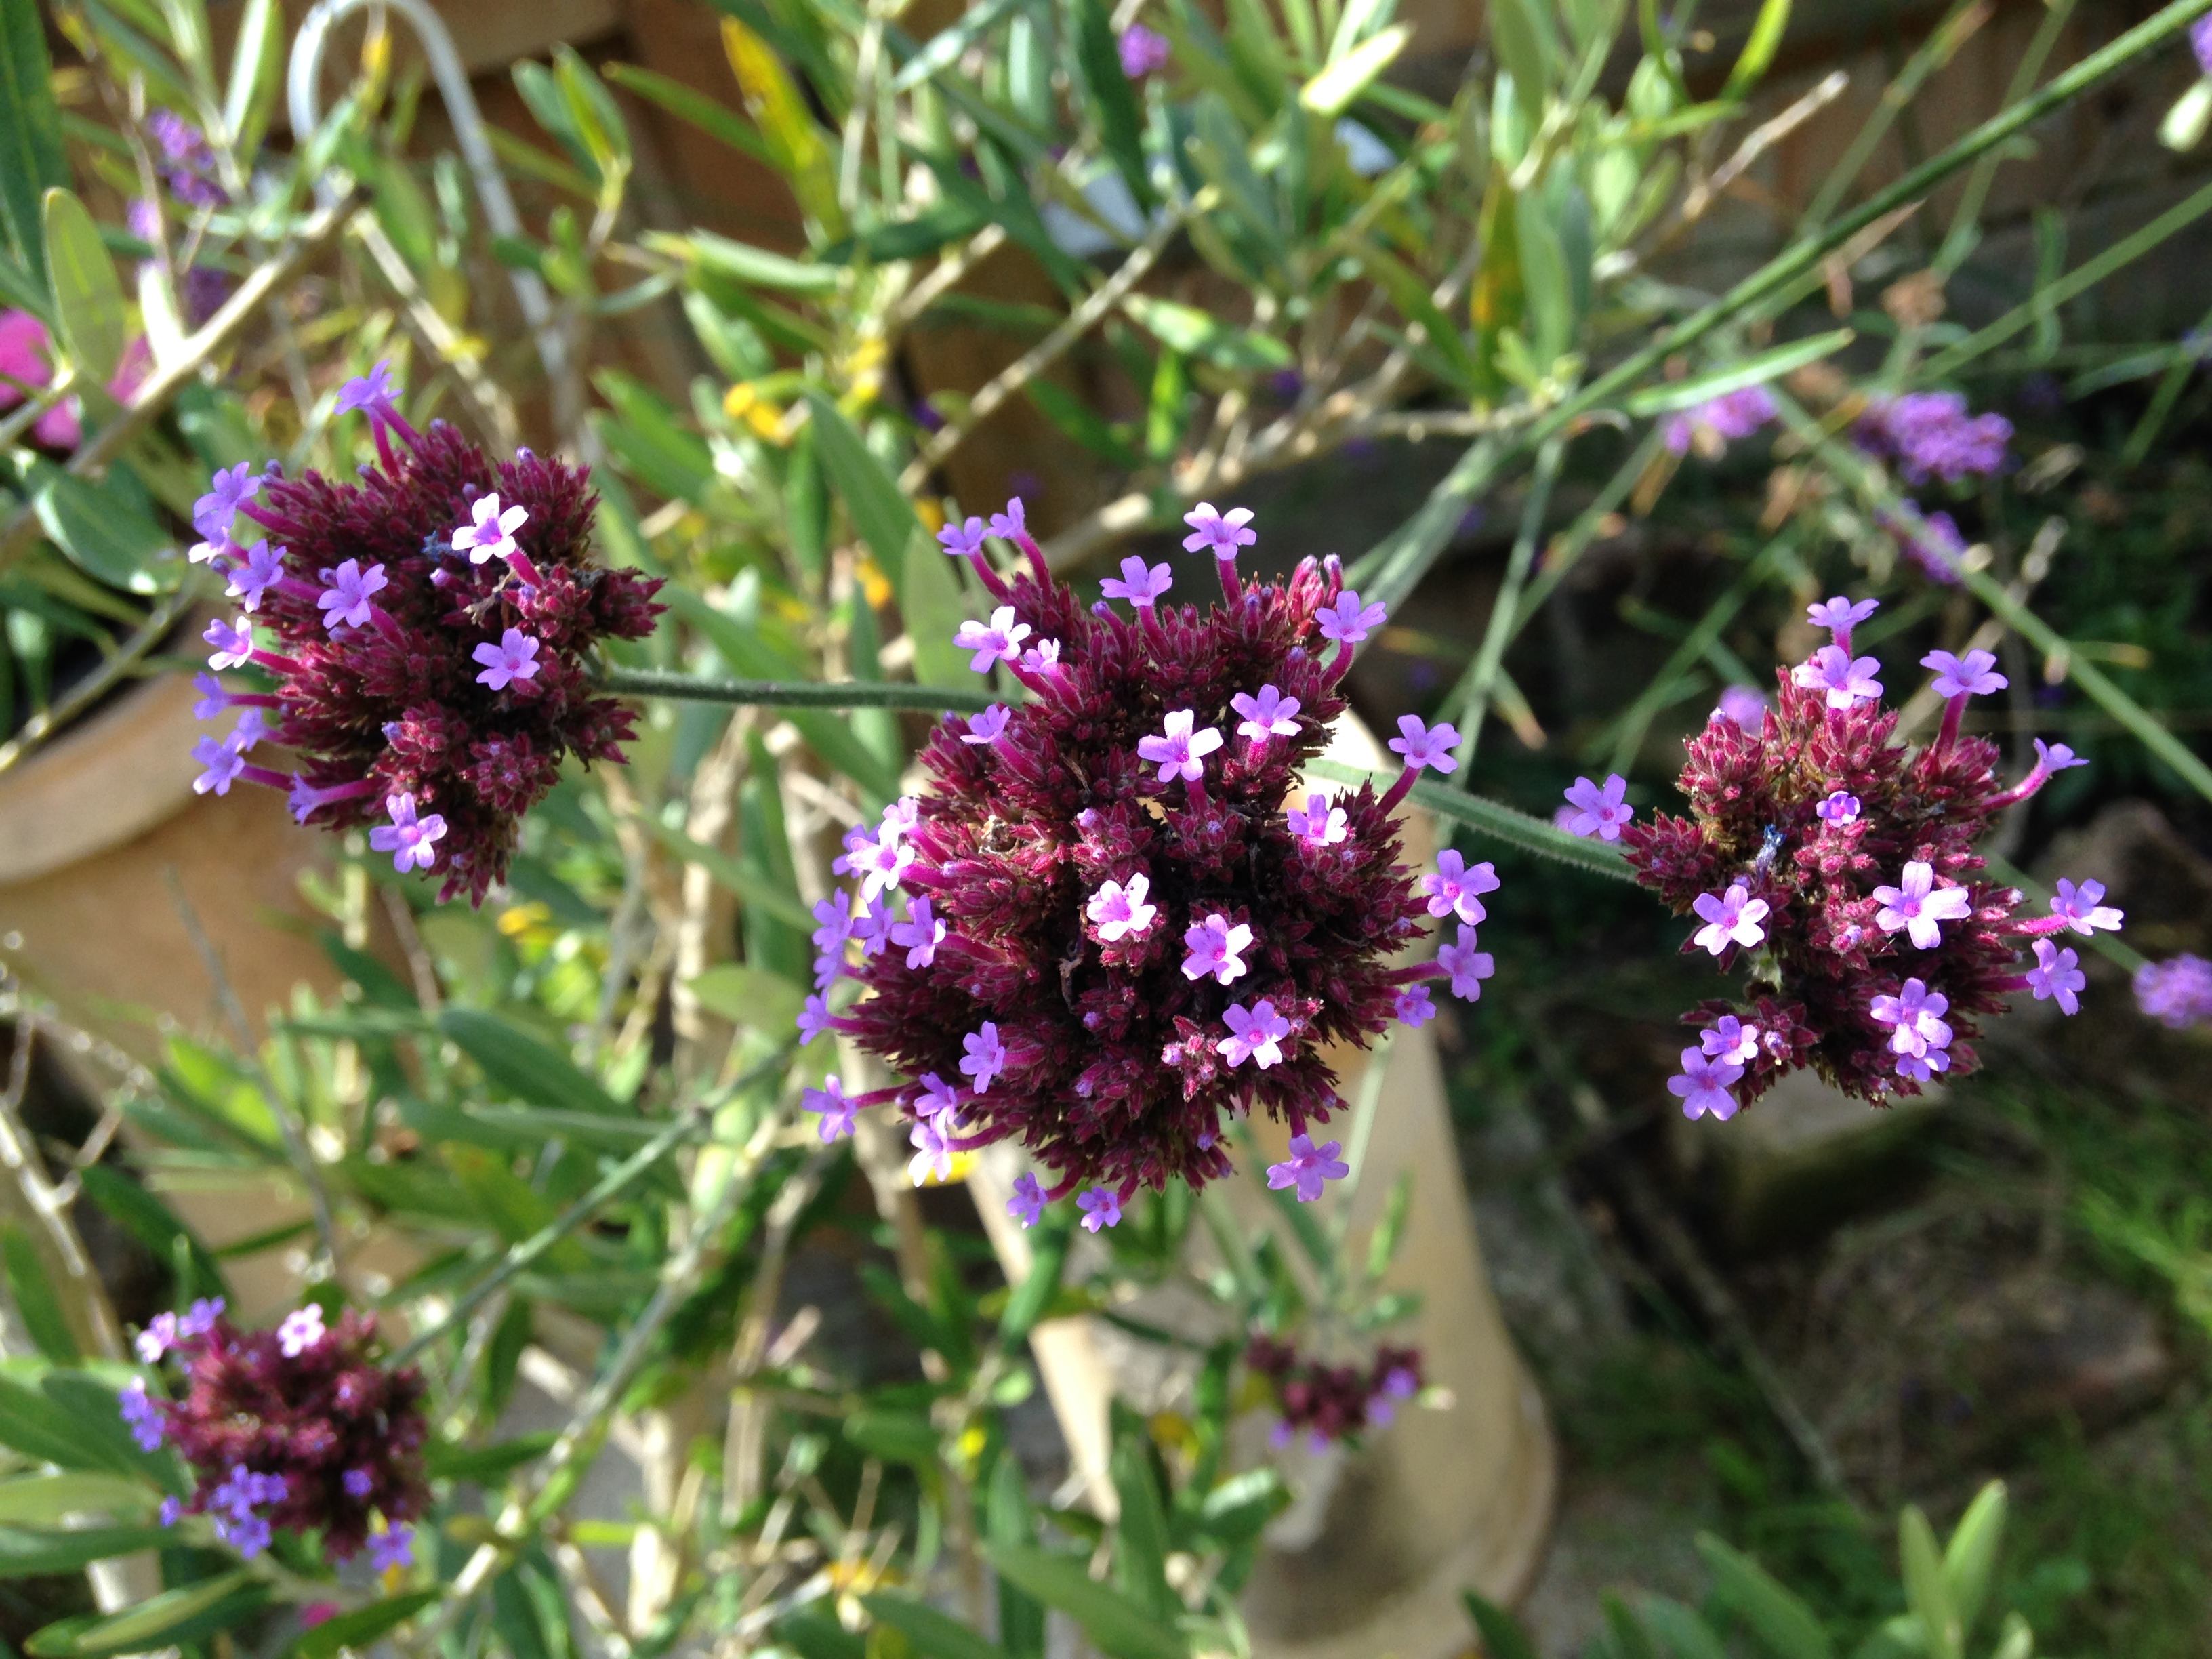
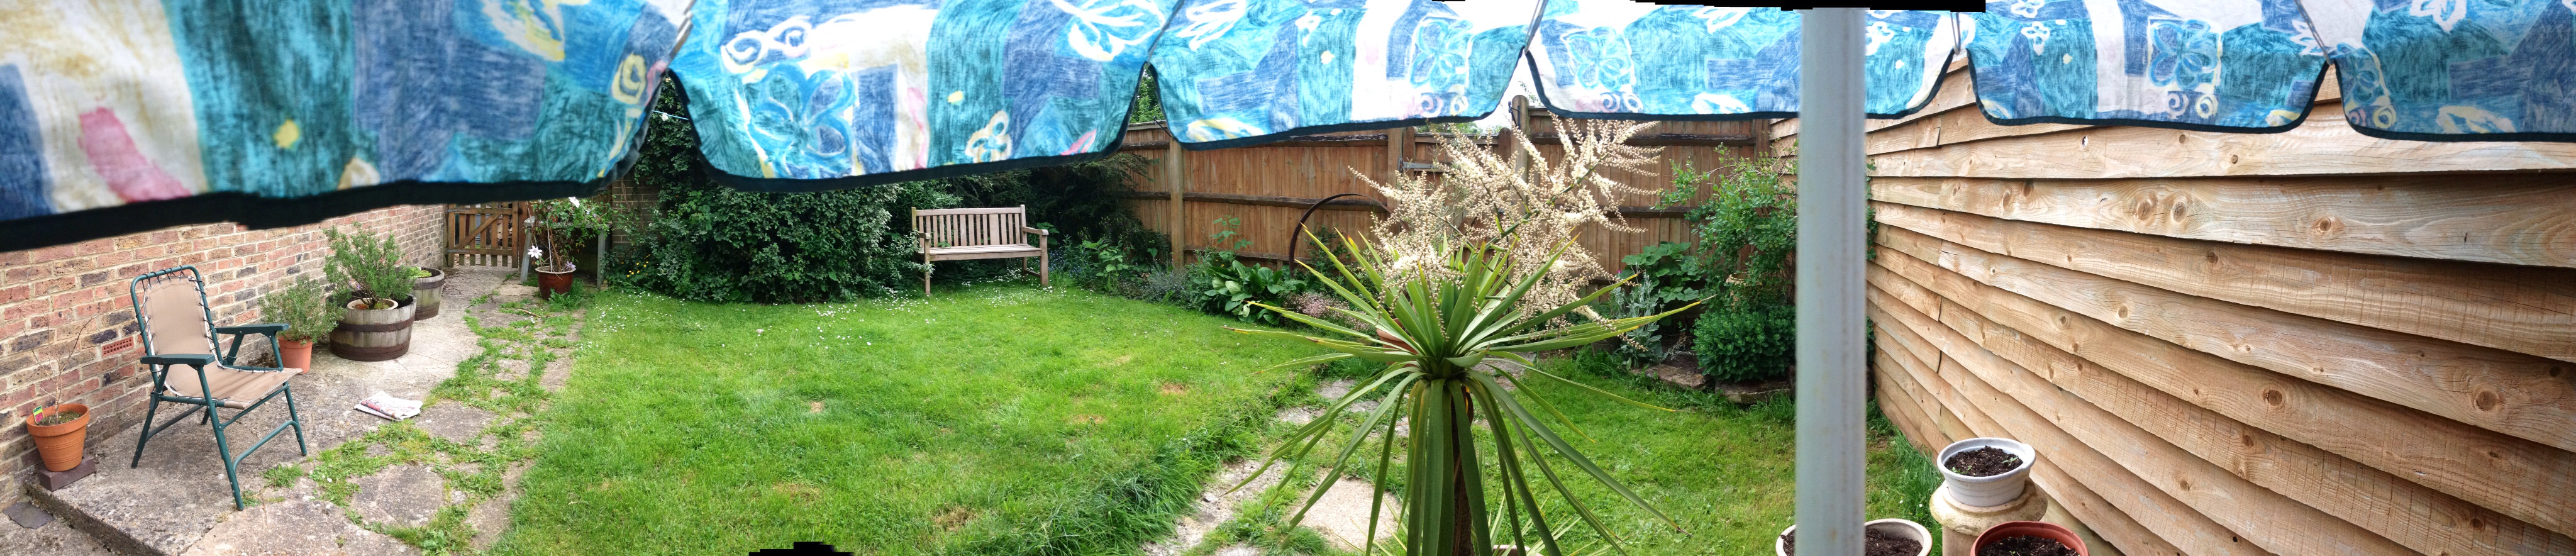
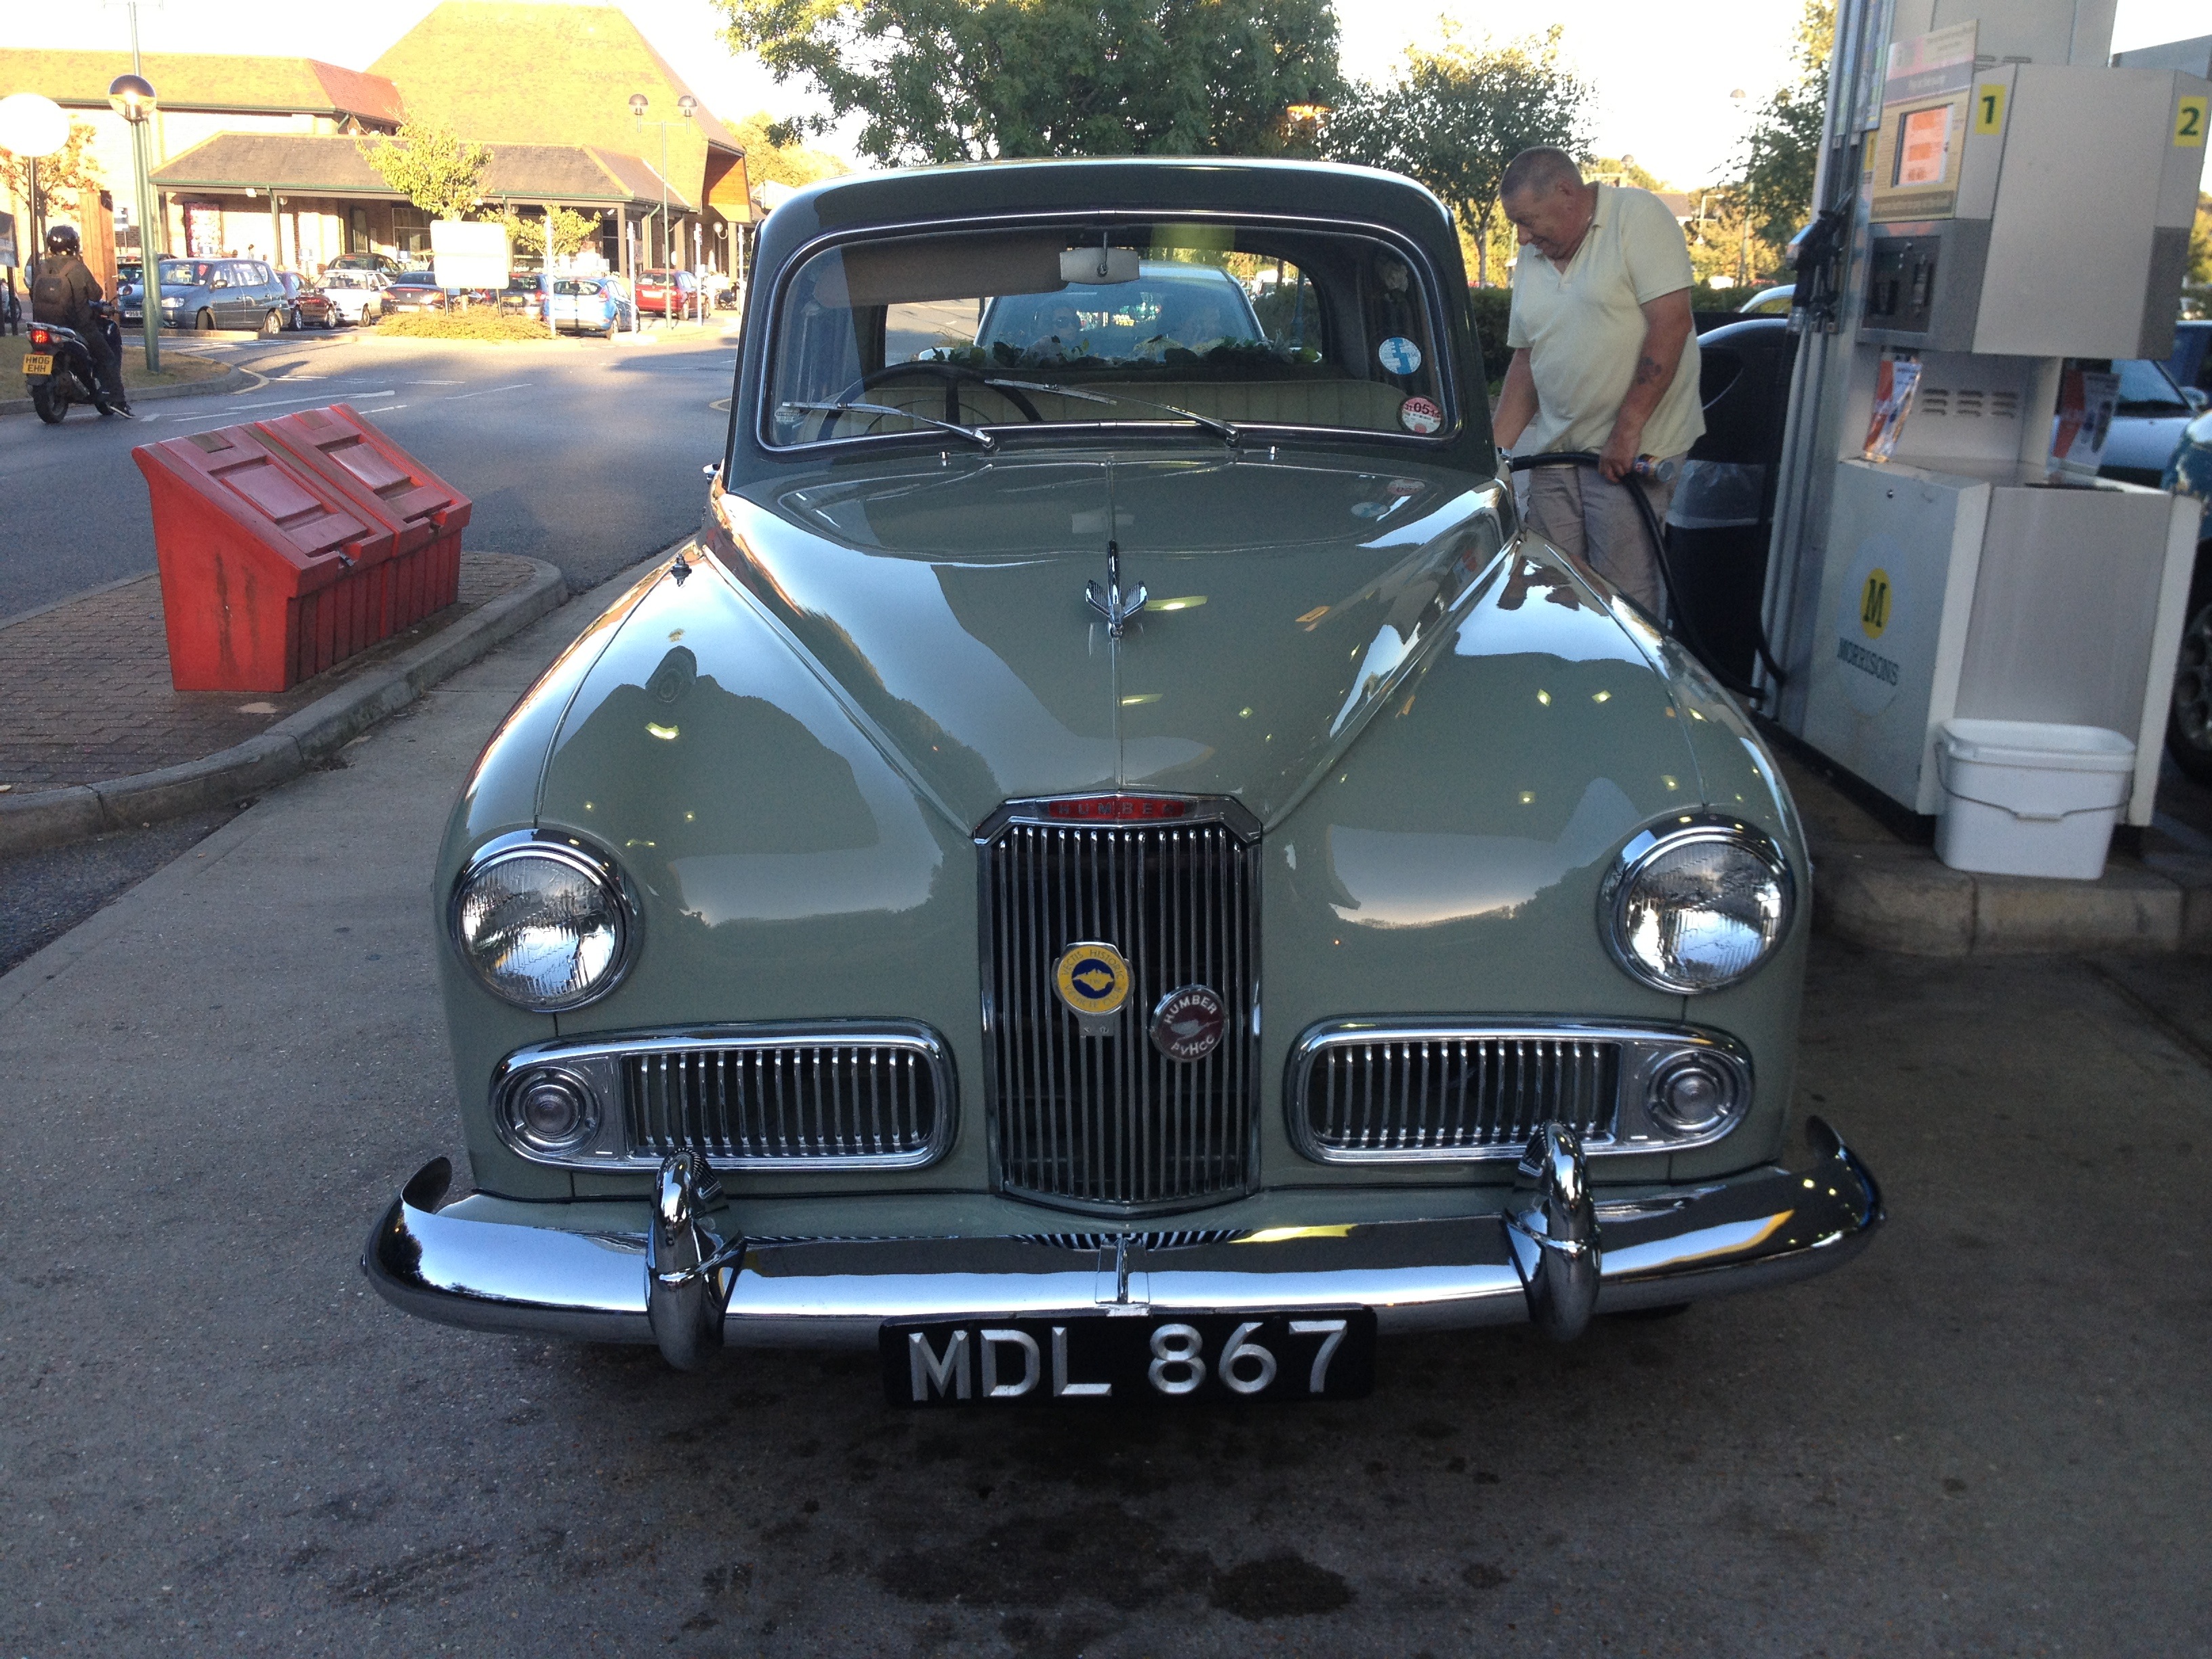
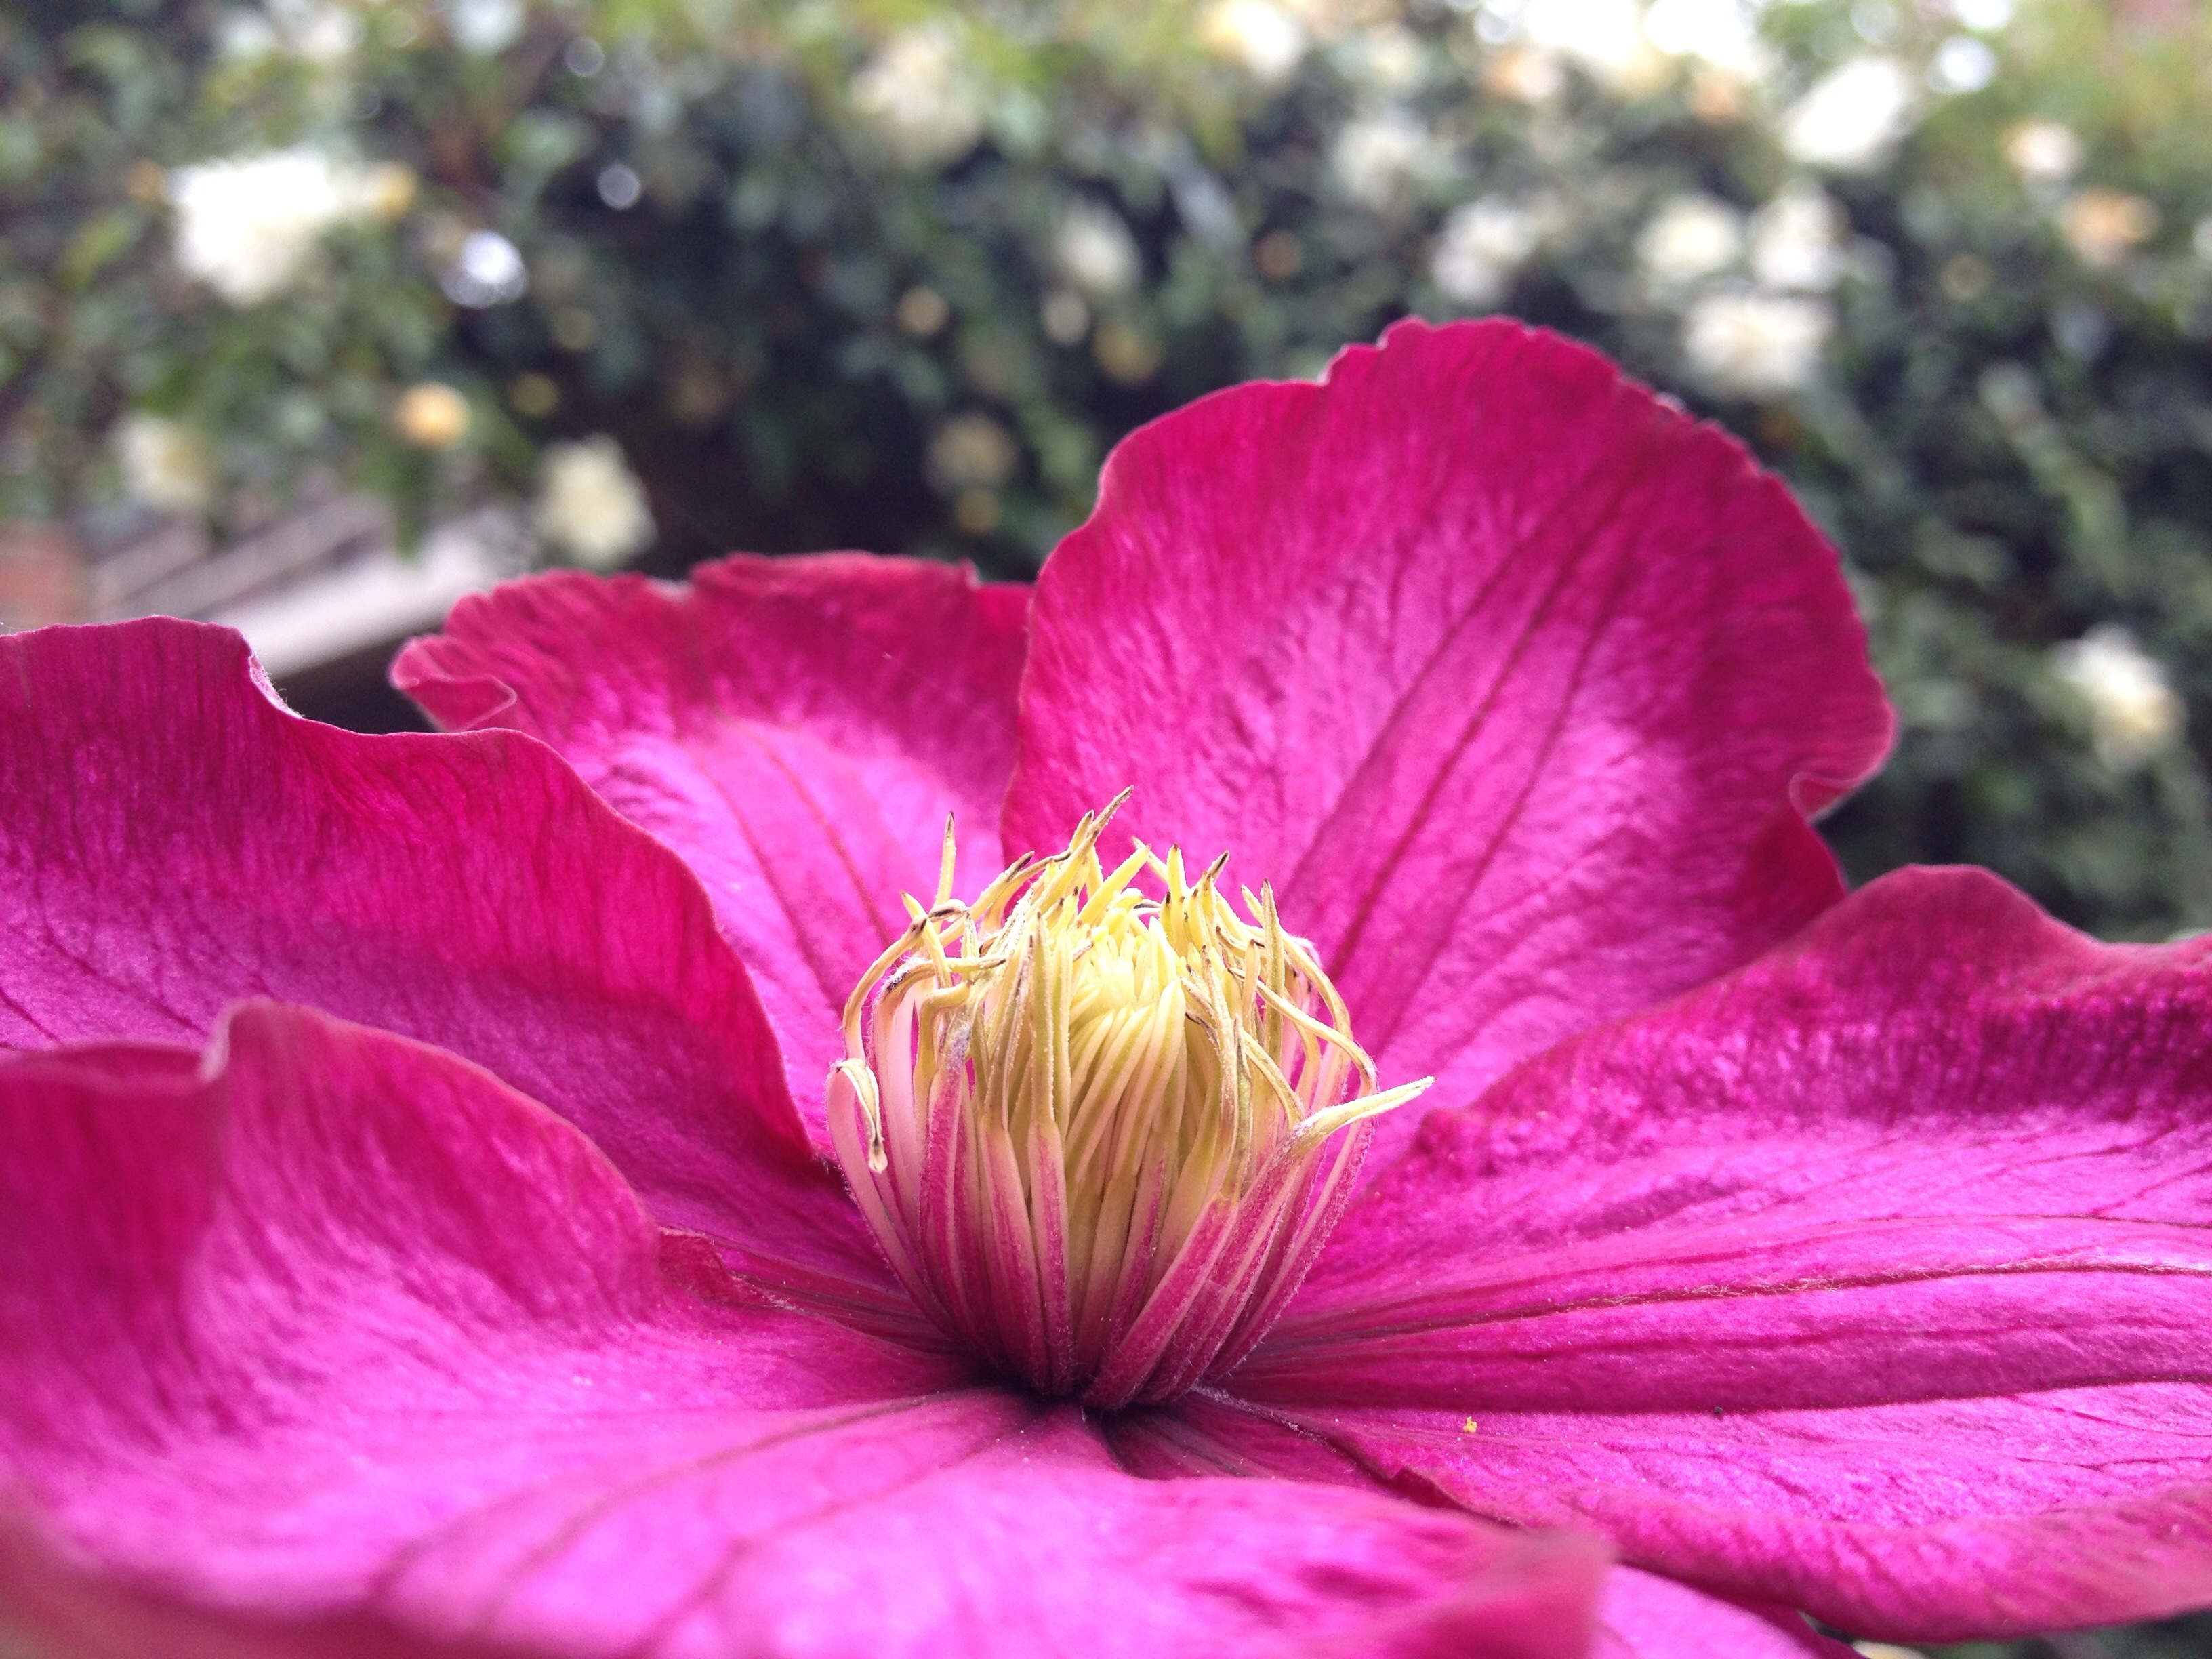
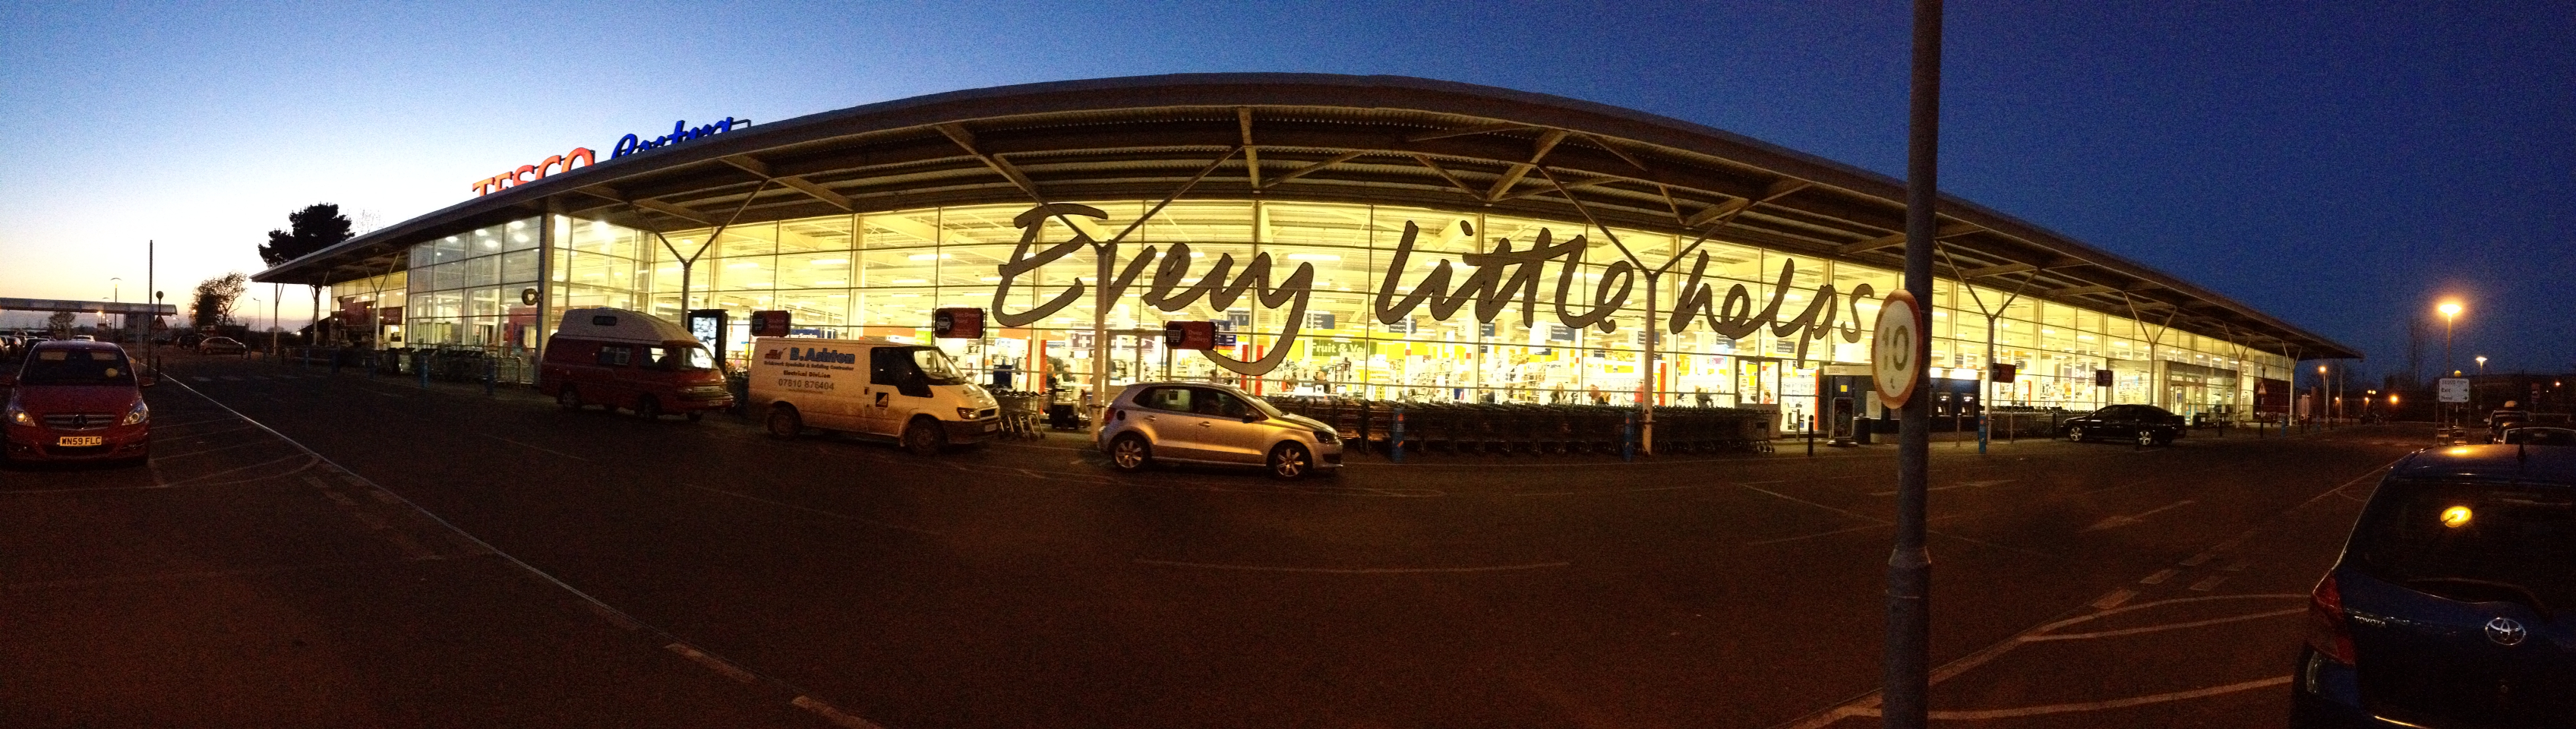
See the images below for more photography taken with the iPhone (click the images to enlarge). To view all iPhone photographs in this set click here.


For more great photography tips like these, visit the Inner Vision Photography blog.


Copyrights © Matt Blythe 2014.

Sunday, 17 August 2014

New Facebook Page ~ Please Like

Trying out the Facebook embed code... come and like our new page on Facebook :)


Inner Vision Photography


Copyrights © Matt Blythe 2014.

Sunday, 20 July 2014

How To Photograph Lightning

To photograph lightning you need to set the camera up to expose for no more than about 30 seconds and ideally you need a tripod and a remote control shutter release. If you do not own a remote shutter release you can set your camera to self timer (2 second delay) which will open your shutter 2 seconds after you press the shutter release button and will avoid camera movement during exposure. You need to position your camera in a dark place pointing towards the lightning, and then when you intuitively feel like a bolt of lightning is eminent, open the shutter.... if you are lucky and the lightning happens for you... you need to close the shutter as soon as possible to avoid light pollution from further lightning, which can over expose your shot. I aim for around 15 to 30 seconds exposure at around f5.6 and ISO 400 but often need to adjust these depending on the intensity of the storm and how far away it is. 

If you use either your cameras "Bulb" or "Time" setting you can open the shutter by pressing the shutter button and it will close when you release the button, or next time press the button in the case of "Time". This removes the need to set the shutter speed and you can expose your photograph intuitively or even count a number of seconds until you close it again.

If you do not move your camera when taking photos, you can also combine multiple shots post production, with Adobe Photoshop or Lightroom, which can create a dramatic affect. If you do not get your perfect lightning photo first time, be patient... it may take you several attempts to get the shot you are happy with.

NOTE : Do not stand outside in a lightning storm! Not only are you at risk of being struck by lightning but your equipment might get wet too. Ideally, you will want to wait until the storm passes and then go somewhere high up and photograph it from a distance, for the widest angle possible. 


These are just guidelines of course and it is up to you to be creative and exercise caution.

Good luck and have fun but above all BE SAFE.


My first attempts at photographing lightning storms
(click images to enlarge).


Copyrights © Matt Blythe 2014.


Monday, 30 June 2014

Metering Vs Manual - A Rough Guide

The images below were from an unplanned photo shoot I happened into at sunrise on the beach not long ago in my local town on the Isle of Wight. I started taking photographs in Aperture Priority but it did not suit the lighting conditions. The sun was bright and already quite high up in the sky and there was a white haze diffusing the sunlight causing metering problems. I got some nice shots in Auto Mode, which is always the easy option, but I found by under exposing the images slightly in Manual Mode (by increasing the shutter speed and reducing the size of the aperture, while keeping the lowest ISO possible) I was able to expose correctly for the sun and still maintain image integrity in the shadows. This also made post production retouching a lot easier.


There are basically two schools of thought when it comes to retouching images, and (in my experience) most photographers prefer to either slightly over or underexpose their images for retouching. Personally, I prefer under exposed images as the camera sensor retains more information in the image, even if you cannot see it initially when you take the shot. Under exposed images are also better (in my experience) for creating images with a high dynamic range. Images with a high dynamic range basically have a lot of information and details in the image across a high range in both the shadows and the highlights. This can be done either by combining images of different exposures or by correctly exposing an image, and then correcting for any over/under exposure post production, with software like Adobe Photoshop or Lightroom.


Metering is only a guide and unless you are using the camera a lot in Auto modes it is almost always better to achieve the results you want in manual. I use metering to give me a 'rough guide' to the exposure settings, then thinking about what kind of affect I want, I dial in the settings in manual. This invariably results in an over/under exposed picture, then it is simply a case of adjusting shutter speed, aperture and/or ISO until I find what I call the "sweet spot". I next to never use Aperture Priority as I usually choose the aperture based on what kind of affect I want and then set the shutter speed accordingly. Of course this doesn't always work if you have moving subjects and want to take action shots where you might not have time to play around with the correct settings, in which case, Automatic Mode or Shutter Priority would be the better options. This tutorial is best suited to landscape photography.

I call it the sweet spot because when you find it, you can adjust settings one or two stops either side and still get a great photo, and with that in mind just click away. I don't use exposure compensation unless I am in extreme light conditions for example, in snow or shooting directly into the sun in bright daylight, although using exposure compensation can give you an exposure somewhere between f stops which can be helpful.

Sometimes I shoot in Auto and get great images, but if you want more flexibility in the affect you want to capture, you need to get a feel for the settings in manual. For me getting a great photo is about getting the camera to see what I am seeing so you can share that with others. It doesn't have to be perfect. Sometimes you get a great photo when you least expect it, which is part of the joy of photography! Anyone can do it. But to do it well means Mastering the camera and what it does is just part of the learning process.... like learning to play a musical instrument... it's not about what you play, or which instrument necessarily... it's about how you play that is an expression your own Inner Vision.

Hope this helps and good luck with your photography (click the images to enlarge).


Original Images:


Over exposed.
Correctly under exposed.


Retouched Images:


Sign up to the blog with your email address to receive updates every time we post.
More tutorials and great images coming soon  :)


Copyrights © Matt Blythe 2014.

Sunday, 25 May 2014

Up Close With Veronica

It was a lovely day so I ventured into the garden with my camera to see what would inspire me. The Veronica on my rockery was just starting to come into flower so I thought I would try for a close up.

I took this using my 18-55mm kit lens at 55mm using aperture priority with f7.1 and ISO 200.  I was within six inches of this beautiful little flower when I took the shot. I'm really happy with the exposure and I haven't needed to retouch it at all. The original uncropped image is below.


Copyrights © Andrea Munns 2014.