Monday, 30 June 2014

Metering Vs Manual - A Rough Guide

The images below were from an unplanned photo shoot I happened into at sunrise on the beach not long ago in my local town on the Isle of Wight. I started taking photographs in Aperture Priority but it did not suit the lighting conditions. The sun was bright and already quite high up in the sky and there was a white haze diffusing the sunlight causing metering problems. I got some nice shots in Auto Mode, which is always the easy option, but I found by under exposing the images slightly in Manual Mode (by increasing the shutter speed and reducing the size of the aperture, while keeping the lowest ISO possible) I was able to expose correctly for the sun and still maintain image integrity in the shadows. This also made post production retouching a lot easier.


There are basically two schools of thought when it comes to retouching images, and (in my experience) most photographers prefer to either slightly over or underexpose their images for retouching. Personally, I prefer under exposed images as the camera sensor retains more information in the image, even if you cannot see it initially when you take the shot. Under exposed images are also better (in my experience) for creating images with a high dynamic range. Images with a high dynamic range basically have a lot of information and details in the image across a high range in both the shadows and the highlights. This can be done either by combining images of different exposures or by correctly exposing an image, and then correcting for any over/under exposure post production, with software like Adobe Photoshop or Lightroom.


Metering is only a guide and unless you are using the camera a lot in Auto modes it is almost always better to achieve the results you want in manual. I use metering to give me a 'rough guide' to the exposure settings, then thinking about what kind of affect I want, I dial in the settings in manual. This invariably results in an over/under exposed picture, then it is simply a case of adjusting shutter speed, aperture and/or ISO until I find what I call the "sweet spot". I next to never use Aperture Priority as I usually choose the aperture based on what kind of affect I want and then set the shutter speed accordingly. Of course this doesn't always work if you have moving subjects and want to take action shots where you might not have time to play around with the correct settings, in which case, Automatic Mode or Shutter Priority would be the better options. This tutorial is best suited to landscape photography.

I call it the sweet spot because when you find it, you can adjust settings one or two stops either side and still get a great photo, and with that in mind just click away. I don't use exposure compensation unless I am in extreme light conditions for example, in snow or shooting directly into the sun in bright daylight, although using exposure compensation can give you an exposure somewhere between f stops which can be helpful.

Sometimes I shoot in Auto and get great images, but if you want more flexibility in the affect you want to capture, you need to get a feel for the settings in manual. For me getting a great photo is about getting the camera to see what I am seeing so you can share that with others. It doesn't have to be perfect. Sometimes you get a great photo when you least expect it, which is part of the joy of photography! Anyone can do it. But to do it well means Mastering the camera and what it does is just part of the learning process.... like learning to play a musical instrument... it's not about what you play, or which instrument necessarily... it's about how you play that is an expression your own Inner Vision.

Hope this helps and good luck with your photography (click the images to enlarge).
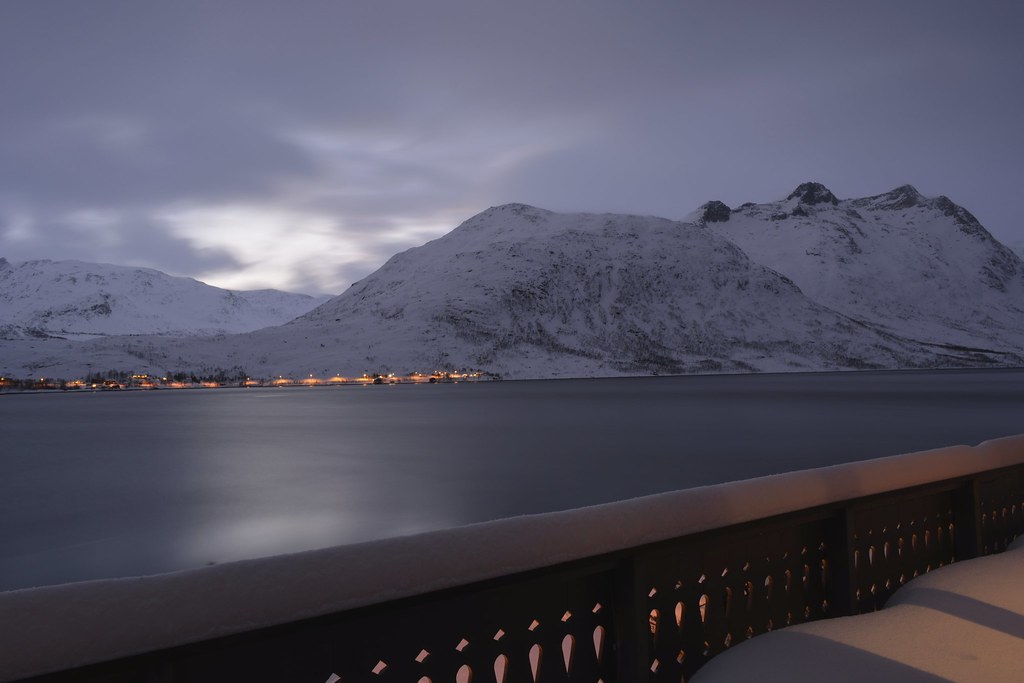
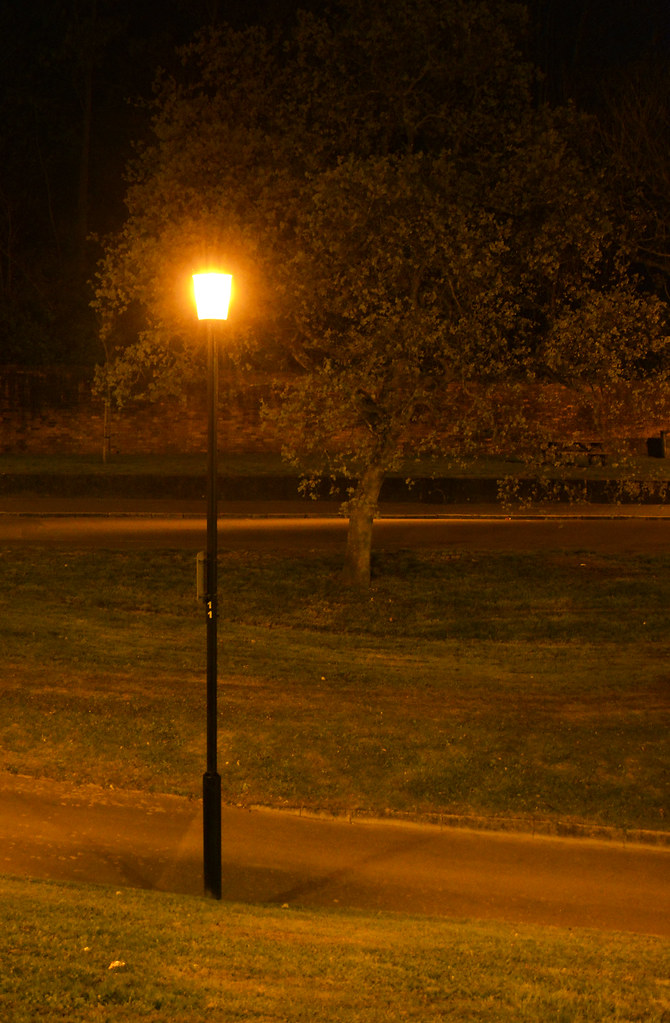
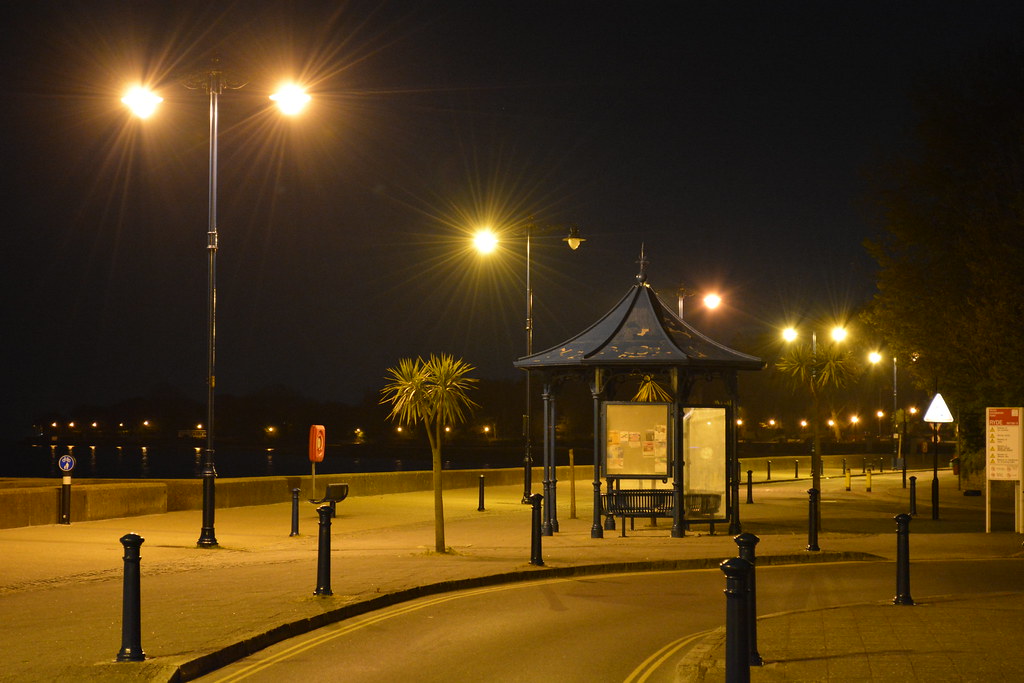


Original Images:


Over exposed.
Correctly under exposed.
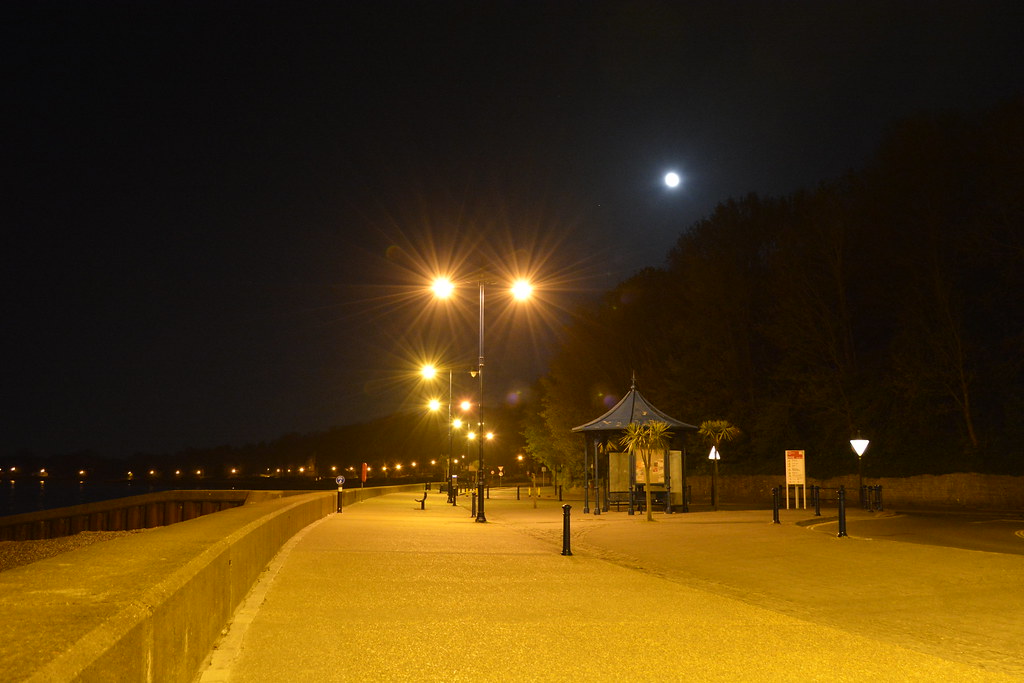
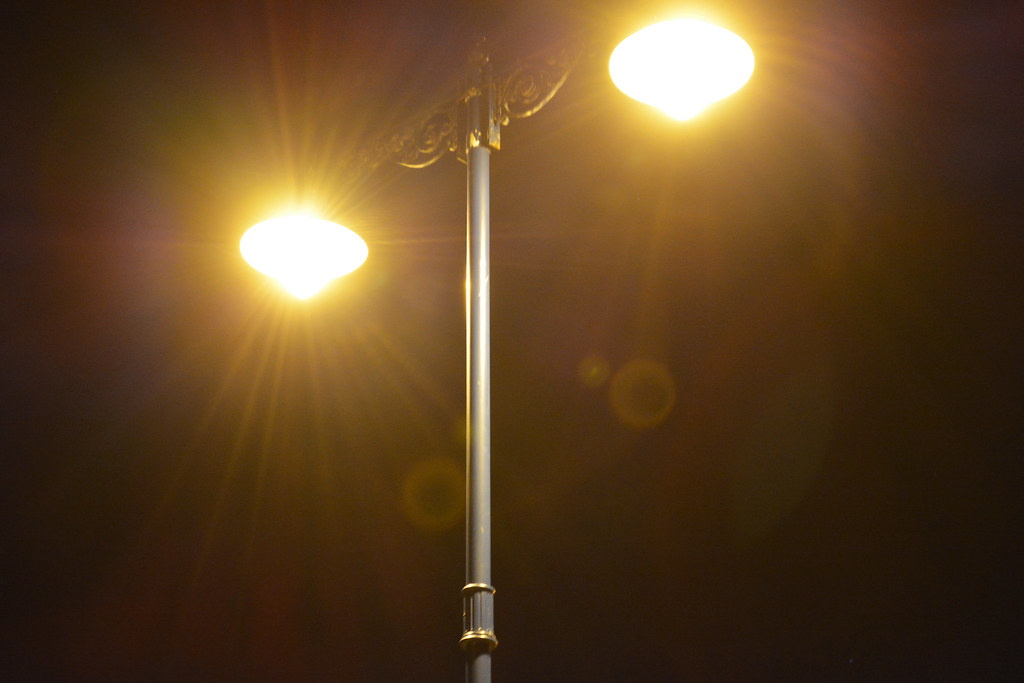


Retouched Images:


Sign up to the blog with your email address to receive updates every time we post.
More tutorials and great images coming soon  :)


Copyrights © Matt Blythe 2014.

Sunday, 25 May 2014

Up Close With Veronica

It was a lovely day so I ventured into the garden with my camera to see what would inspire me. The Veronica on my rockery was just starting to come into flower so I thought I would try for a close up.

I took this using my 18-55mm kit lens at 55mm using aperture priority with f7.1 and ISO 200.  I was within six inches of this beautiful little flower when I took the shot. I'm really happy with the exposure and I haven't needed to retouch it at all. The original uncropped image is below.


Copyrights © Andrea Munns 2014.

Monday, 5 May 2014

Sunset Over Monyash

Hello and welcome to my first post on the blog. Having got into photography at the beginning of last year I now own a Nikon Coolpix P510 and a Nikon D5200. Currently living in the Peak District I have plenty of beautiful places to photograph. I hope you like my contributions.

I took this picture on a lovely April evening using a 55-300mm lens and the camera on full auto mode (yes I know but I only had about twenty minutes of light left and didn't have time to find the correct exposure settings).

The top picture has been retouched to bring out the colours with the original below.


Click the images to enlarge.


Copyrights © Andrea Munns 2014.

Monday, 21 April 2014

New Admin and FREE SUBSCRIPTIONS by Email

My friend +Andrea is helping me to administer and maintain the Inner Vision Photography side of things and is a contributor to this blog with full admin' privileges! We share a mutual interest in photography and even own the same camera so we will be sharing our breakthroughs and images through this page and this is an ideal opportunity to show case our inspiration and love for the art of photography. This will include tips and tricks for taking better photographs, things we learn as we go along and of course our own digital still images. Feel free to ask anything and contact us through the blog. Also check our page over at Google and give us a "Plus One". Also follow this blog... this is where most of the creativity will be happening as we develop the Inner Vision Photography platform. If you subscribe by email you will receive a notification every time the blog is updated with a new post. THIS IS COMPLETELY FREE OF CHARGE and you can easily unsubscribe at any time if you change your mind. We are aiming to update the blog regularly for our friends and subscribers and will be adding product reviews and recommendations too :)

Below is a photograph from Andrea's recent visit to see the
Northern Lights in Norway, 240 miles inside the Arctic Circle.

View from the lodge balcony.


Click the image to enlarge.


Copyrights © Matt Blythe 2014.

Sunday, 20 April 2014

The Humble Street Light

I have actually got used to them now, but the new efficient LED street lights definitely have a calming affect on people. I am wondering if the local carnival will be affected by the new street lights? If you want to remember what the old pink and orange streets lights look like (photographs below), visit Ryde Seafront on the Isle of Wight before they change them... it is a much friendlier atmosphere. These photographs were taken at night with the Nikon D5200 on a mini-tripod resting on the sea wall. If you would like to know the actual camera settings you can see them on my Flickr photostream by clicking here.

Most of the photos were taken with around 1/4 of a second shutter speed and aperture at f5.6. You will find that if you increase the ISO to around 4000 at night, you can still use a reasonably fast shutter speed and not have to worry too much about camera shake. I experimented with the shots of Spinnaker Tower with longer shutter speeds and found the best results came at around 2 seconds exposure. I only had my 18-55mm lens with me and although it does not have much in the way of zooming in on far away objects, I find it very useful for framing a shot where wide angle is more of a priority. If your camera and/or lens has vibration reduction (VR) switch it on, otherwise use a tripod. And if you are lucky enough to have a built in light meter, that usually gives you some idea of the camera settings you will need for correct exposure, or is a good place to begin at least. As a general guide, nice bright shots can be achieved at night by upping your ISO, opening your aperture by using a smaller f stop number, and by decreasing your shutter speed.

Also watch the Youtube video embedded below for more inspirational and influential Inner Vision Photography ideas!


  Click the images to enlarge.


Copyrights © Matt Blythe 2014.